Category: Home Décor

  • Tips for Buying the Right Kitchen Appliances

    Tips for Buying the Right Kitchen Appliances

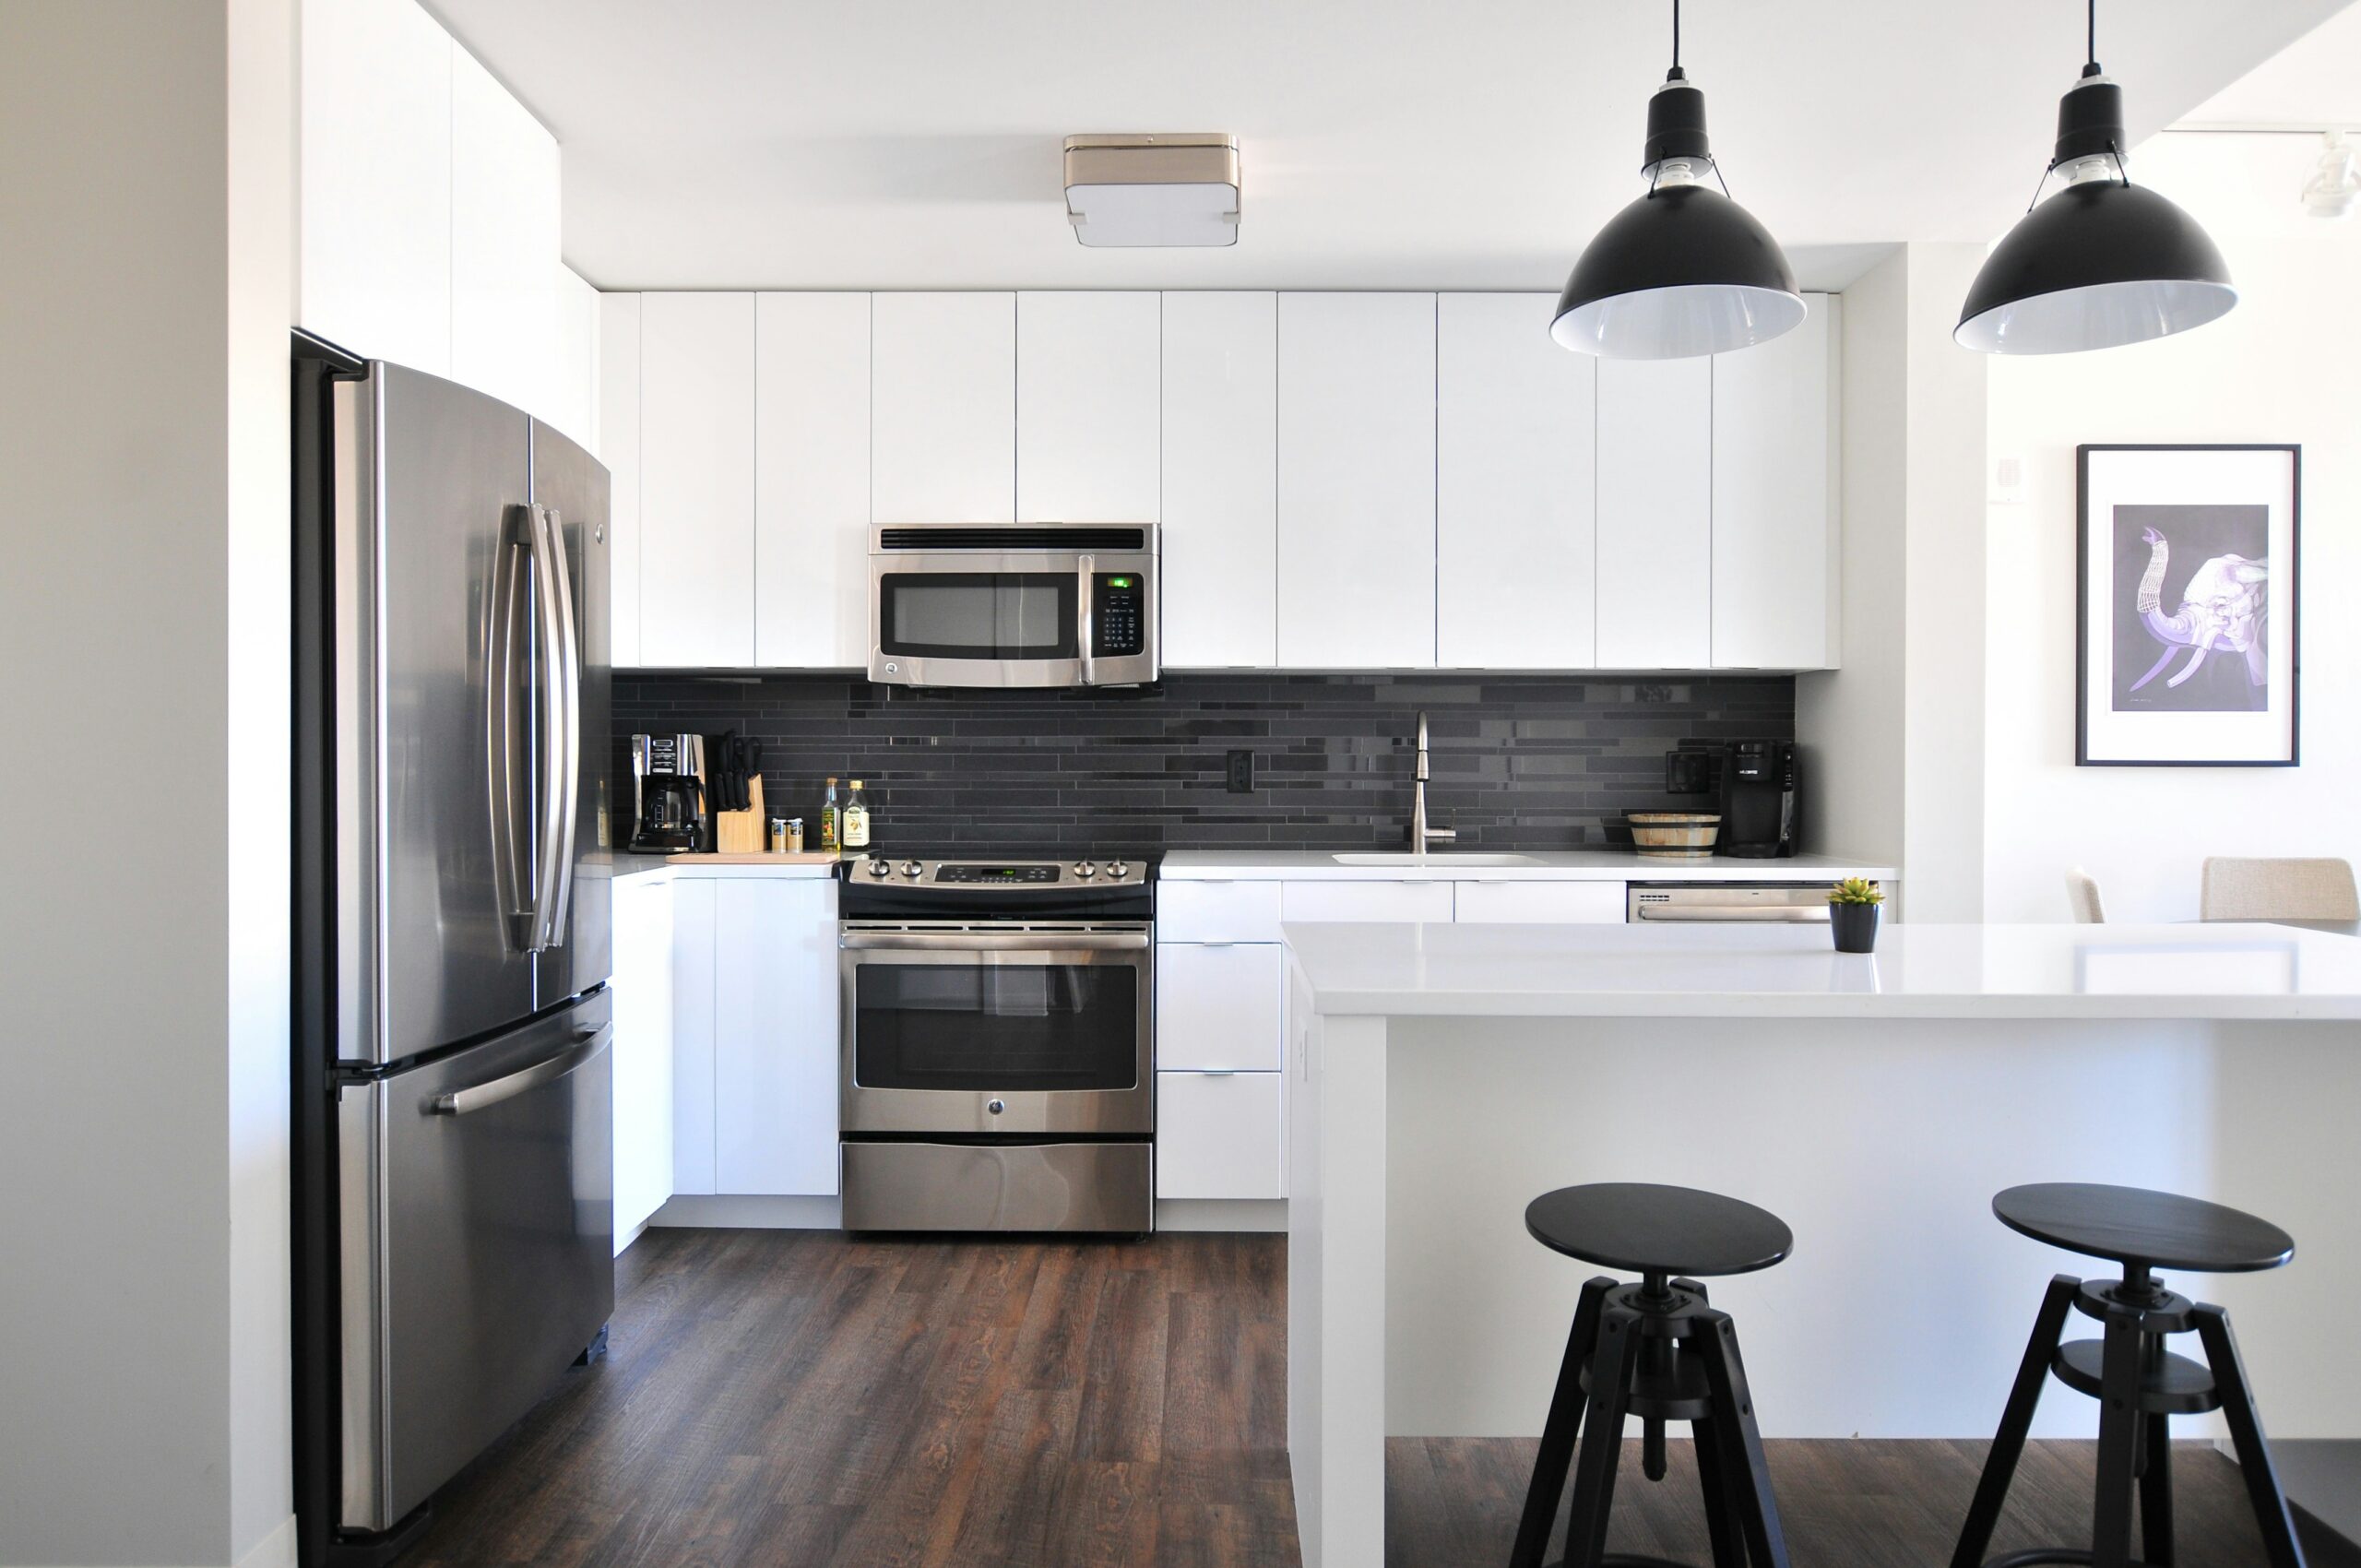
    Major kitchen appliances are almost as confusing as buying a car. There are many options, with a constant stream of new technology and features. Here are five tips to help you make a decision when it comes to buying new kitchen appliances in Brisbane. You can also find out about the latest features for three of your major appliances: oven, dishwasher, and refrigerator.

    1. Ready, Set, Budget!

    There are many reliable and quality kitchen appliances available in all price ranges. Prices will increase due to factors such as finish (stainless is more expensive), features, technology, and capacity. Having a budget in mind before shopping will help you narrow down the options and keep your costs under control.

    Consider how long you plan to stay in your house when deciding on your budget for appliances. You might not want to spend a lot of money on a high-end dishwasher if you are replacing an older model in a home you plan to sell within a few year. The extra cost may be worthwhile if it is your dream kitchen remodel.

    2. Avoid Buying On Impulse And Avoid Regret

    You can be easily tempted by an attractive design, a great sale or a new feature. Think about your family’s needs, the people who will use them, and their intended purpose before you buy. Do some research, as you would when buying a car.

    Shopping not your thing? Ask a family member or friend who enjoys shopping for help. It can prevent you from buying the first item that catches your eye.

    3. You Can Find Reliable Appliance Brands

    Doing your research to find out which brands and types of appliances are the most reliable is a good idea. You may think that the best appliance brands are the high-end ones. But you would be surprised.

    The average person expects their major appliances will last about 10 years. This is also pretty close to the expectations of manufacturers. It doesn’t necessarily mean that your appliances will not need to be repaired before then.

    You can get great advice from your friends, family and online social networks about the brands and types of appliances you should buy – and avoid. People are always happy to share their opinions about the things they love and dislike.

    The internet is a great source of information. However, there are many conflicting opinions about which models of appliances to buy. You may not find what you are looking for because the best features and styles are subjective.

    It is worth investigating the reliability of brands on the Internet. Consumer Reports offers a good place to begin when looking for ratings of brands. Check your local library if you don’t wish to pay for a subscription. You can probably use the online account or a printed copy of the magazine.

    4. Learn What You Need In Your Appliances

    Consider what your family requires. Spending more on large capacity or high-end appliances is a good idea if you enjoy cooking or entertaining. Standard size appliances will work well if you are a small family or use your kitchen only occasionally.

    Do you love takeout pizza? Make sure the side-by-side fridge can fit large pizza boxes. If you love frozen desserts, then a refrigerator with a bottom-freezer may cause back pain from having to bend over to get to the items.

    You may want to avoid smart appliances and those that have many options and controls if you are on first-name terms with the Apple Genius bar experts. Smart appliances are a great option if you have experience with technology.

    5. Select Smart Appliance Features Carefully

    Smarter appliances are they a good buy? Smarter does not always mean simpler or easier to use. The latest smart gadgets are tempting. If you are comfortable with technology, many “smart features” can really make your life easier. It’s not always a great idea to buy the latest, greatest appliances that come with high-tech computer systems.

    Addition of computers and electronic components in appliances means more things to break. The technology is always evolving, but it doesn’t necessarily mean that the products are built to last. You probably replace your phone every few years. Smart appliances, however, may not last that long. When items break, local technicians may not have the training to repair your computer screen in your high-tech refrigerator or other cutting edge appliance.

    Popular Dishwasher Features

    Pros and cons of hidden controls

    The controls can be hidden to give the appliance a sleeker look. Hidden controls can keep small children away from the buttons. Hidden controls can be more expensive. The door must be opened to operate the dishwasher, and some models will not let you know how much time is left on the cycle.

    How Much Quiet Do You Want?

    It’s not always the case that a more expensive dishwasher is better at cleaning, but almost always it is a quieter one. High-end dishwashers tend to be quieter than cheaper models. If you want a quieter dishwasher, look for one that has between 45 and 50 decibels. Even if your dishwasher is ten years old, you can expect a new, inexpensive dishwasher to be quieter.

    Flexible Racks

    Consider features like adjustable or flexible racks, or third racks to hold silverware if you are a frequent cook or entertainer. These features are more expensive, but they can be well worth the cost. The cost of drawer-style dishwashers, which are similar to double ovens, is higher, but they have not yet been proven to be reliable.

    Popular Oven/Cooktop Features

    You probably won’t change your current oven style unless you are doing a complete kitchen remodel. This is usually a freestanding oven or a wall oven that has a separate burner. You’ll want to stick with the same type of fuel (gas or electricity) in most cases unless you have a kitchen that is set up to accommodate both or you are willing to pay to modify it.

    Controls and settings

    You can find features like delay timers and food warming settings on electronic control panels. Smart controls give you more options.

    Convection vs. Convention Ovens

    The convection and conventional ovens are almost identical, but adding a fan to a convection model changes how it heats and bakes. The heat in a conventional or regular oven will rise. The fan of a convection-oven circulates hot, moist air to help heat and cook evenly. Convection ovens are faster and use less energy. However, convection ovens are not suitable for all baking tasks. For example, breads, cupcakes and cakes should be baked in an ordinary oven.

    Double Ovens

    The double oven is a great option for those who like to entertain and cook, but don’t have enough space for two wall ovens. Double ovens are worth the money if you enjoy baking at two different temperatures simultaneously.

    What is the downside of double ovens? In most models, the lower oven opens almost directly onto the floor. Some people may find it difficult to bend over and lift a large roast or turkey out of the lower oven. Have bad knees or a iffy back? It’s not for you. You may also have a problem with the low opening of your oven if you’re cooking for small children or pets.

    Popular Refrigerator Features

    Popular but problematic: Ice and water dispensers

    Be cautious about installing ice and water dispensers in your home. Although refrigerator water and ice dispensers may be convenient and popular, they also have some downsides. These dispensers are not only more expensive, but also use more energy. These dispensers take up valuable space on the door. Many refrigerators come with water dispensers that are very compact and take up little space. Consumer Reports found that refrigerators with ice and water dispensers have higher repair rates.

    Door alarms and child locks

    You can easily be distracted by other things in the kitchen, and forget to close the fridge completely. When you return home, the door will have been partially open for who knows how long. Some refrigerators have alarms that sound when the door is left open for an extended period of time. If you have young children at home, the Child Lock feature is also a great option.

    Adjustable Shelves & Drawers

    The new refrigerators have a wide range of drawer and shelving options. Split and sliding shelves allow you to further customize your space and maximize its capacity. Some refrigerators also have adjustable storage bins in the door. Some refrigerators have doors inside doors that allow you to easily access items like beverages and condiments.

    Get Appliance Kitchen Suppliers Coverage

    You may want to cover your new kitchen appliances as well as any other systems and appliances in your home with a  Kitchen Suppliers. Kitchen Suppliers coverage is a great way to protect yourself if something goes wrong.

  • The Perfect Weather Conditions for Exterior Painting

    The Perfect Weather Conditions for Exterior Painting

    You should check the weather before you start painting your walls. When it comes to painting your walls, the weather is crucial. The weather changes can affect both the interior and exterior painting. Inability to comprehend the weather conditions can result in poor results, resulting in your home losing its glossy appearance. Understanding the conditions before you paint your exterior is essential to achieving the desired result.

    This Article Will Give You An Overview Of What The Ideal Weather Conditions Are For Exterior Painting.

    Watch For Low Wind Speeds

    A high wind speed can cause debris to be thrown around on the painted surface. It is also more difficult to paint when the paint dries faster. A high wind speed is also an indication of a change in temperature, which can be a danger to exterior painting.

    Paint When It Is Not Raining

    Choose a day when there are no signs of rain. You can use forecasts to determine when it might rain. Rain can ruin exterior paint, causing you to lose a lot of money. This is especially true when painting large exterior surfaces. Make sure that the surfaces affected by the rain are completely dry before you paint. Allow them to dry before painting. If you don’t, it can lead to cracking, flaking, and even blistering. Exterior wooden surfaces are prone to this.

    Take Into Consideration The Ideal Temperatures

    When considering exterior house painting services in Auckland, it’s crucial to be mindful of the temperature conditions, as they significantly impact paint adherence and drying time. Paint does not adhere well to surfaces when applied in temperatures that are too low or too high. Ideally, a temperature range of 35 degrees is optimal for exterior painting. High temperatures often raise humidity levels, which can slow the drying process, while lower temperatures increase the paint’s viscosity, making it harder to apply smoothly. Additionally, the type of paint used influences the suitable temperature range for application. For oil-based paints, the temperature should be between 40 and 90 degrees. In contrast, latex-based paints are best applied in a temperature range of 40 to 70 degrees. Understanding these factors will ensure better durability and finish of the paint job by exterior house painting services in Auckland.

    Avoid Painting In Direct Sunlight

    The paint dries faster in direct sunlight, making it difficult for the surface of the painting to absorb paint at the required rate. The binding agents and pigments in the paint are deteriorated by excessive sunlight. It can cause the paint to fade, chalk and even erode. This makes the surface appear old. Always paint exterior areas in the morning before the surface gets too hot. Paint will be applied poorly if painted in direct sunlight.

    Final Words

    A better understanding of weather conditions will help you achieve the perfect exterior paint. This article explains the weather conditions that you should take into consideration. If you are having trouble getting the perfect weather conditions, you can consult a professional for help. Visit a paint dealer or a weather expert.

  • 6 Top Interior Painting Tips From Experts For A Flawless, Fabulous Finish

    6 Top Interior Painting Tips From Experts For A Flawless, Fabulous Finish

    To achieve a flawless and fabulous finish, interior painting requires more than simply choosing a color. Preparation, technique, and the correct tools are essential. For those seeking expert help, professional interior painters in wellington can offer valuable insights and execution. Here, experts share six interior painting tips to achieve a professional result.

    1. Prepare your surfaces thoroughly

    The Key to Success is Preparation

    It is important to prepare your surfaces before you open the can of paint. This step will determine the final quality of your finish. What you should do is:

    • Clean your Walls: Dust and dirt can cause paint to not adhere properly. Use mild soap and warm water to wash your walls. Vinegar and water is effective for tougher dirt. Be sure to let the walls completely dry out before you paint.
    • Repair Damages: Check your walls for any cracks, holes or other imperfections. Fill these areas with joint compound or spackle. After they have dried, use fine-grit paper to sand the areas smooth. Consider using a primer that is designed for patching on larger repairs.
    • Sanding the Surface: By lightly sanding walls with fine-grit paper (like 220-grit), you create a surface that is slightly rougher, which helps paint adhere. This step is especially important if you are painting over a shiny finish.
    • Remove Old Painting: You may have to remove the old paint if it is flaking or peeling. Follow safety instructions when using a paint stripper or chemical paint remover.
    • Prime When necessary: Prime is required when working with new plaster or bare drywall. A primer will also cover stains, and increase the durability of paint. Select a primer that is suitable for your surface and type of paint.

    2. Choose the Right Paints and Tools

    Invest in Quality

    Your painting results can be greatly affected by the quality of paints and tools that you use. How to choose the best paint:

    • Paint selection: Choose high-quality paints that may be more expensive, but offer better coverage and durability. Consider using a primer-infused paint for small imperfections. Flat or matte finishes work best to hide imperfections on walls. Eggshell or satin finishes, however, are easier and quicker to clean. Trim and moldings are best finished in semi-gloss, gloss or satin.
    • Color is Important: Try out paint samples before you commit to a particular color. Different lighting can make colors look different. Try applying a few swatches to your wall at different times during the day.
    • Tools: Use brushes and rollers that are designed for the paint type you’re using. Synthetic brushes work best with latex paints. Natural bristle brushes perform well with oil-based painters. Select a roller that has a nap size that suits your wall texture. A shorter nap is best for smooth surfaces, while a longer one is better for textured surfaces.

    3. Master Techniques

    Technique Makes Perfect

    It is important to consider the application method. This will affect how smooth and even your paint job looks. Here are some tips from experts:

    • Cutting in: Begin by cutting around corners and edges with a paintbrush. This technique involves painting around the edge of the wall, where it meets trim or the ceiling before rolling on the main areas. For precision, use a high quality angled brush.
    • Rolling: Use the roller to cover large areas of wall. Roll the excess paint off your roller by dipping it into the paint and rolling it on a tray. Paint should be applied in a W- or M-pattern to ensure an even coating. Avoid overloading your roller as this will lead to dripping and an uneven texture.
    • Use Multiple Coats: For most surfaces, you will need to paint them at least twice. Let each coat dry completely before adding the next. Follow the manufacturer’s recommended drying times.
    • Maintain Wet Edges: In order to avoid visible lines or roller marks, work in sections. Blend each new section with the previous while the paint is wet.

    4. Lighting

    How Lighting Effects Everything

    Lighting can either make your paint job appear professional or reveal every flaw. Here’s what you can do to fix it:

    • Natural light: Paint when there is ample natural lighting. This allows you to see the true colors and detect imperfections while you are working.
    • Artificial Lighting: Make sure you use bright, high-quality lighting to see the areas where you need to touch up. The best visibility can be achieved by combining natural and artificial lighting.
    • Consistency: Maintain consistent lighting during the entire painting process. Different light sources reveal different shades, which can affect the final color.

    5. Protect Your Space

    Avoid Unwanted Messes

    Keep your workspace clean and well-protected to ensure that you only paint the areas you intend. Here are some tips on how to protect your work area:

    • Protect Furniture and Floors: Move the furniture or cover the floor with drop cloths. Painter’s tape can be used to protect ceilings, baseboards and trim. Drop cloths or plastic sheets can be laid on the floor to catch spills.
    • Masking and Tape: Use masking tape to mask areas that you do not want painted. Tape should be applied carefully, and pressed down hard to prevent paint seepage. Remove the tape when the paint is slightly damp to prevent peeling.
    • Ventilation: Open windows and use fans to ensure good ventilation. It will help the paint to dry evenly and reduce the chance of fumes accumulating.

    6. Finishing and Cleaning Up

    The Final Touches Matter

    After you have painted, it is time to clean up and add the finishing touches.

    • Check and Touch-Up: Once the paint is dry, check the walls to see if there are any spots that were missed or areas where the paint was uneven. Touch up any imperfections with a small paintbrush.
    • Clean Brushes & Rollers: Clean brushes and rollers as soon as you use them to prolong their life. Use warm, soapy, water to clean latex paints. Mineral spirits can be used to remove oil-based paints.
    • Remove Painter’s Tape Carefully: Remove the painter’s tape slowly and with care to avoid peeling any dried paint. The cleanest lines are achieved by pulling the tape at a 45 degree angle.
    • Proper Waste Disposal: Dispose leftover paint and other materials in accordance with local regulations. Many communities have recycling programs for paints and other painting supplies.

    Conclusion

    To achieve a flawless and fabulous finish when painting interiors, you must pay attention to the details, choose the right materials, learn how to apply them, and prepare your space meticulously. Follow these tips to transform your space into a beautiful, long-lasting paint job. If you are painting an entire home or a single bedroom, taking the time to do each step will produce stunning results.

  • 6 Top Interior Painting Tips From Experts For A Flawless, Fabulous Finish

    6 Top Interior Painting Tips From Experts For A Flawless, Fabulous Finish

    To achieve a flawless and fabulous finish, interior painting requires more than simply choosing a color. Preparation, technique, and the correct tools are essential. For those seeking expert help, professional interior painters in wellington can offer valuable insights and execution. Here, experts share six interior painting tips to achieve a professional result.

    1. Prepare your surfaces thoroughly

    The Key to Success is Preparation

    It is important to prepare your surfaces before you open the can of paint. This step will determine the final quality of your finish. What you should do is:

    • Clean your Walls: Dust and dirt can cause paint to not adhere properly. Use mild soap and warm water to wash your walls. Vinegar and water is effective for tougher dirt. Be sure to let the walls completely dry out before you paint.
    • Repair Damages: Check your walls for any cracks, holes or other imperfections. Fill these areas with joint compound or spackle. After they have dried, use fine-grit paper to sand the areas smooth. Consider using a primer that is designed for patching on larger repairs.
    • Sanding the Surface: By lightly sanding walls with fine-grit paper (like 220-grit), you create a surface that is slightly rougher, which helps paint adhere. This step is especially important if you are painting over a shiny finish.
    • Remove Old Painting: You may have to remove the old paint if it is flaking or peeling. Follow safety instructions when using a paint stripper or chemical paint remover.
    • Prime When necessary: Prime is required when working with new plaster or bare drywall. A primer will also cover stains, and increase the durability of paint. Select a primer that is suitable for your surface and type of paint.

    2. Choose the Right Paints and Tools

    Invest in Quality

    Your painting results can be greatly affected by the quality of paints and tools that you use. How to choose the best paint:

    • Paint selection: Choose high-quality paints that may be more expensive, but offer better coverage and durability. Consider using a primer-infused paint for small imperfections. Flat or matte finishes work best to hide imperfections on walls. Eggshell or satin finishes, however, are easier and quicker to clean. Trim and moldings are best finished in semi-gloss, gloss or satin.
    • Color is Important: Try out paint samples before you commit to a particular color. Different lighting can make colors look different. Try applying a few swatches to your wall at different times during the day.
    • Tools: Use brushes and rollers that are designed for the paint type you’re using. Synthetic brushes work best with latex paints. Natural bristle brushes perform well with oil-based painters. Select a roller that has a nap size that suits your wall texture. A shorter nap is best for smooth surfaces, while a longer one is better for textured surfaces.

    3. Master Techniques

    Technique Makes Perfect

    It is important to consider the application method. This will affect how smooth and even your paint job looks. Here are some tips from experts:

    • Cutting in: Begin by cutting around corners and edges with a paintbrush. This technique involves painting around the edge of the wall, where it meets trim or the ceiling before rolling on the main areas. For precision, use a high quality angled brush.
    • Rolling: Use the roller to cover large areas of wall. Roll the excess paint off your roller by dipping it into the paint and rolling it on a tray. Paint should be applied in a W- or M-pattern to ensure an even coating. Avoid overloading your roller as this will lead to dripping and an uneven texture.
    • Use Multiple Coats: For most surfaces, you will need to paint them at least twice. Let each coat dry completely before adding the next. Follow the manufacturer’s recommended drying times.
    • Maintain Wet Edges: In order to avoid visible lines or roller marks, work in sections. Blend each new section with the previous while the paint is wet.

    4. Lighting

    How Lighting Effects Everything

    Lighting can either make your paint job appear professional or reveal every flaw. Here’s what you can do to fix it:

    • Natural light: Paint when there is ample natural lighting. This allows you to see the true colors and detect imperfections while you are working.
    • Artificial Lighting: Make sure you use bright, high-quality lighting to see the areas where you need to touch up. The best visibility can be achieved by combining natural and artificial lighting.
    • Consistency: Maintain consistent lighting during the entire painting process. Different light sources reveal different shades, which can affect the final color.

    5. Protect Your Space

    Avoid Unwanted Messes

    Keep your workspace clean and well-protected to ensure that you only paint the areas you intend. Here are some tips on how to protect your work area:

    • Protect Furniture and Floors: Move the furniture or cover the floor with drop cloths. Painter’s tape can be used to protect ceilings, baseboards and trim. Drop cloths or plastic sheets can be laid on the floor to catch spills.
    • Masking and Tape: Use masking tape to mask areas that you do not want painted. Tape should be applied carefully, and pressed down hard to prevent paint seepage. Remove the tape when the paint is slightly damp to prevent peeling.
    • Ventilation: Open windows and use fans to ensure good ventilation. It will help the paint to dry evenly and reduce the chance of fumes accumulating.

    6. Finishing and Cleaning Up

    The Final Touches Matter

    After you have painted, it is time to clean up and add the finishing touches.

    • Check and Touch-Up: Once the paint is dry, check the walls to see if there are any spots that were missed or areas where the paint was uneven. Touch up any imperfections with a small paintbrush.
    • Clean Brushes & Rollers: Clean brushes and rollers as soon as you use them to prolong their life. Use warm, soapy, water to clean latex paints. Mineral spirits can be used to remove oil-based paints.
    • Remove Painter’s Tape Carefully: Remove the painter’s tape slowly and with care to avoid peeling any dried paint. The cleanest lines are achieved by pulling the tape at a 45 degree angle.
    • Proper Waste Disposal: Dispose leftover paint and other materials in accordance with local regulations. Many communities have recycling programs for paints and other painting supplies.

    Conclusion

    To achieve a flawless and fabulous finish when painting interiors, you must pay attention to the details, choose the right materials, learn how to apply them, and prepare your space meticulously. Follow these tips to transform your space into a beautiful, long-lasting paint job. If you are painting an entire home or a single bedroom, taking the time to do each step will produce stunning results.

  • HOW TO CALCULATE WATER BILL FOR TENANTS

    HOW TO CALCULATE WATER BILL FOR TENANTS

    Understanding how to calculate water bills for tenants is essential for both landlords and tenants to ensure fair and accurate billing practices. Water bills can vary depending on consumption, tariffs, and other factors. This article aims to provide a comprehensive guide on how to calculate water bills for tenants effectively.

    Understanding Water Bills

    What is a water bill?

    A water bill is a statement issued by the utility company detailing the amount of water consumed by a household or property during a specific period.

    Components of a water bill

    Water bills typically include charges for water consumption, sewer services (if applicable), administrative fees, and taxes.

    Factors Affecting Water Bills

    Several factors can influence the amount of a water bill:

    Consumption

    The primary factor affecting water bills is the amount of water consumed by the tenant.

    Tariffs and rates

    Water utilities often charge different rates based on the volume of water consumed and the time of usage.

    Meter readings

    Accurate meter readings play a crucial role in determining the precise amount of water consumed and billed.

    Calculating Water Bills for Tenants

    Calculating water bills for tenants involves several steps:

    Review the lease agreement

    The lease agreement should specify how water bills will be divided and whether they are included in the rent or billed separately.

    Determine the billing cycle.

    Identify the billing cycle specified by the utility company to track water usage accurately.

    Analyze the water usage.

    Monitor the water meter regularly to track consumption and identify any irregularities or leaks.

    Calculate the bill amount.

    Multiply the water consumption by the applicable tariff rate to determine the total amount due.

    Tips for Reducing Water Bills

    To reduce water bills, consider the following tips:

    Fix leaks promptly

    Address any leaks or drips in faucets, toilets, or pipes to prevent water wastage.

    Install water-saving fixtures

    Install low-flow showerheads, faucets, and toilets to minimize water consumption without sacrificing comfort.

    Be mindful of usage habits.

    Encourage tenants to adopt water-saving habits, such as taking shorter showers and only running the dishwasher or washing machine with full loads.

    Conclusion

    Calculating water bills for tenants requires an understanding of consumption patterns, tariff rates, and billing cycles. By following the steps outlined in this article and implementing water-saving measures, both landlords and tenants can effectively manage water usage and reduce costs.